


Installing Magura’s on Dualtron Electric Scooter
Magura brakes are some of the best brake calipers on the market for mountain bikes, especially electric scooters. While Magura brakes are expensive, their quality and stopping power make them worth every penny. The installation job is not for the faint of heart. It’s a very tough job but a rewarding one once you finish!
Easier to Install Magura’s on an Eagle Pro
When comparing the Dualtron Eagle Pro installation with its bigger brothers (Thunder, Ultra, Ultra 2, and Storm), the Magura job on the Eagle is way easier! The Eagle has 10″ tires, while the bigger scooters have 11″ tires. The Magura brake calipers have a hydraulic line inside the caliper.
With the eagle, the caliper and the line fit snuggly between the side arm brake bracket and the tire. However, on the 11″ tires (Thunder, Ultra, Ultra 2, Storm), the caliper and the line will not fit between the side arm and the 11″ tires. To get around this issue, riders will either need to swap the hydraulic line to the outside with a specialized kit, or they can buy rotor spacers and side spacers to move the disc and caliper out more than the hydraulic lines will fit. Lucky for us, the Eagle does not have this issue.
Need help finding the right Dualtron scooter? Check out the MiniMotors USA Dualtron Comparison Guide and Dualtron finder Quiz. Both of these apps will help you find the right Dualtron model for your needs.
The main parts of installing hydraulic brake calipers on electric scooters can be broken down in a 8 key parts.
High level overview of Installation process
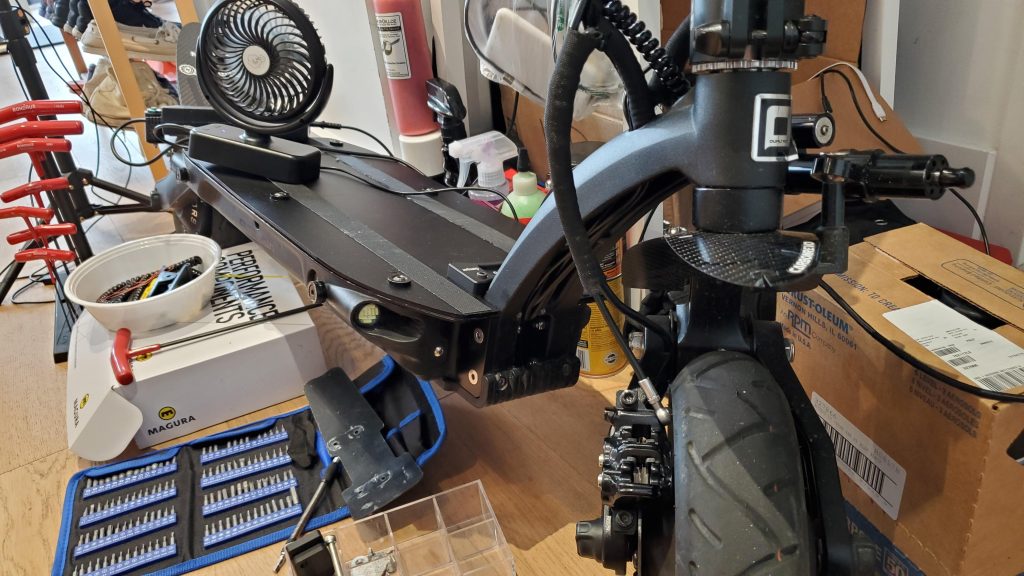
- Strip down handle bars, stem, and deck
- Remove old calipers, cable lines, and cut brake sensors
- Install new calipers and run the wires from the rotor through deck, headset, stem, and handle bar
- Do the same with front calipers, a lot easier, since you can run the wires from front motor, up stem, to the right handlebar
- Put handle bars, stem, deck back together
- Trim hydraulic hose to fit with Magura Line trimmer in bleed kit
- Bleed the levers and caliper
- Solder the brake electric brake sensors to controller wires, this will allow for brake light and regen braking. I currently do not have this documented, see notes on how to do that below.
This installation does not cover disc rotor upgrade, that process is long in itself and is beyond the scope of this article.
While the steps above are high-level, several small steps are in between. Watch the suggested videos below and carefully read the instructions before beginning the installation.
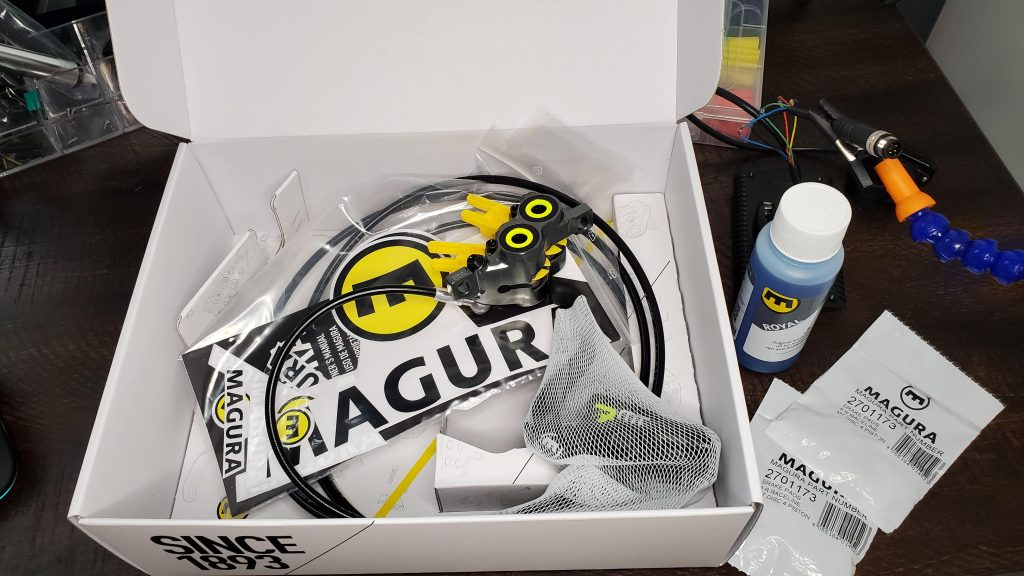
Suggested Parts and Tools to install:
- Wire cutters
- Metric hex keys
- Wrenches
- 8mm open-end spanner
- T25 screw driver
- 2 Qm43 mounting adaptors, or equivalent, for 160mm rotors
- 2 Magura MT5, MT5E Higo, or MT7 4 piston calipers
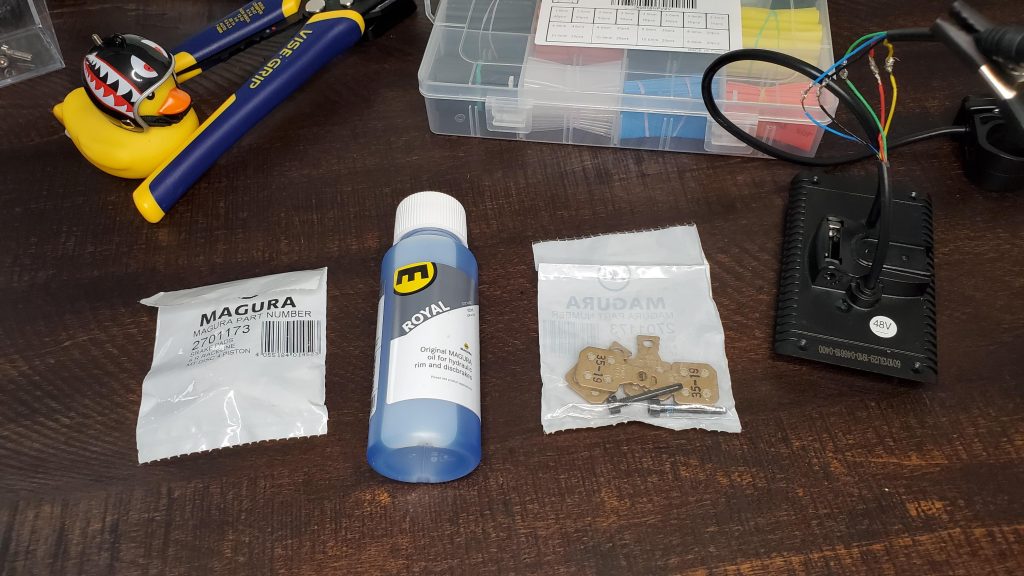
- 1 Magura full service bleed kit and Royal Blood
- Torque Wrench (optional, you can do by feel too)
- Isopropyl alcohol
- Paper towel
- Plastic bag
- Soldering iron and Lead solder with Rosin
- Determination and positive attitude!
*Before performing the Magura upgrade, watch these two videos below on bleeding and trimming wires! They cover the topics more thoroughly!
Magura Installation Instructions:
- Remove wires, led covers,
- Remove old brake calipers, levers,
- Snip ebrake wire, careful where you cut, Measure the length you’ll need to solder down the line
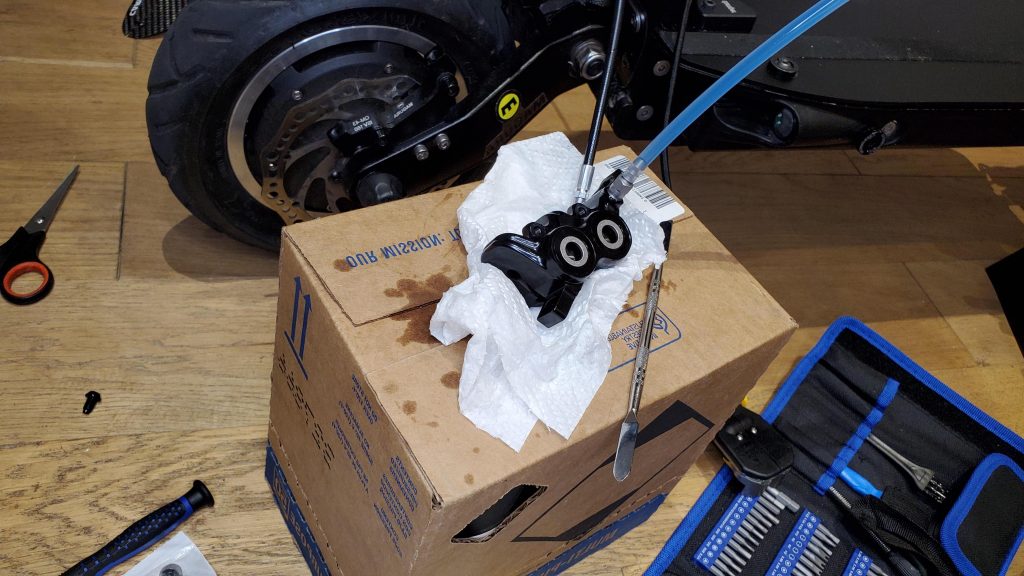
- Add new Caliper to front rotor, add the
- Mount caliper and adaptor to side arm
- Fit brake lever to handle bar, careful not to over tighten
- Remove deck
- Open up bottom panel from under Dualtron neck
- Remove rear calipers
- Snake Magura line from behind deck
- Fit Magura caliper on rear side arm
- Snake line through deck/neck
- Snake line up neck, I had to use tape the wire protector up the neck, this was very challenging, as space is very tight
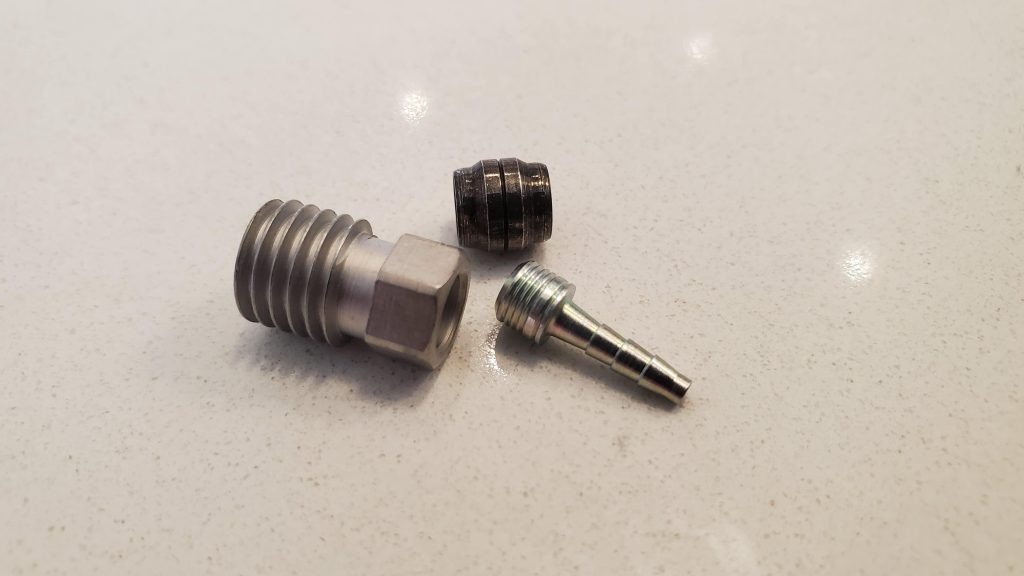
- Trim hydraulic line with line trimmer in Magura bleed kit, seal tubing with plug
- Put support sleeve in to line
- Push tubing cover, sleeve nut, and olive on to tubing
- Insert tubing into master, turn sleeve by hand, then with spanner, until thread is hidden, with force of 4nm
- Align lever horizontally, so bleed screw is highest point of the handlebar
- Add bag for bleeding
- Remove brake pads from caliper
- Add brake blocks
- Add hose/Nosel to syringe, fill with 20ml mineral oil
- Quickly remove bleed screw, tighten syringe Nosel into bleed slot, be-careful not to over tighten
- Add other syringe into EBT bleed port, no Nosel necessary
- Push oil from bottom syringe, air will show, don’t empty bottom syringe
- Push oil from top to bottom, until no air shows
- Press on lever to remove air Bottom
- Add EBT screw back, clean oil/lever with alcohol, tighten lever
- Quickly remove Nosel, and replace with bleed screw, be careful not to over tighten
- Clean the caliper with Isopropyl alcohol
- Remove bleed blocks, and add brake pads
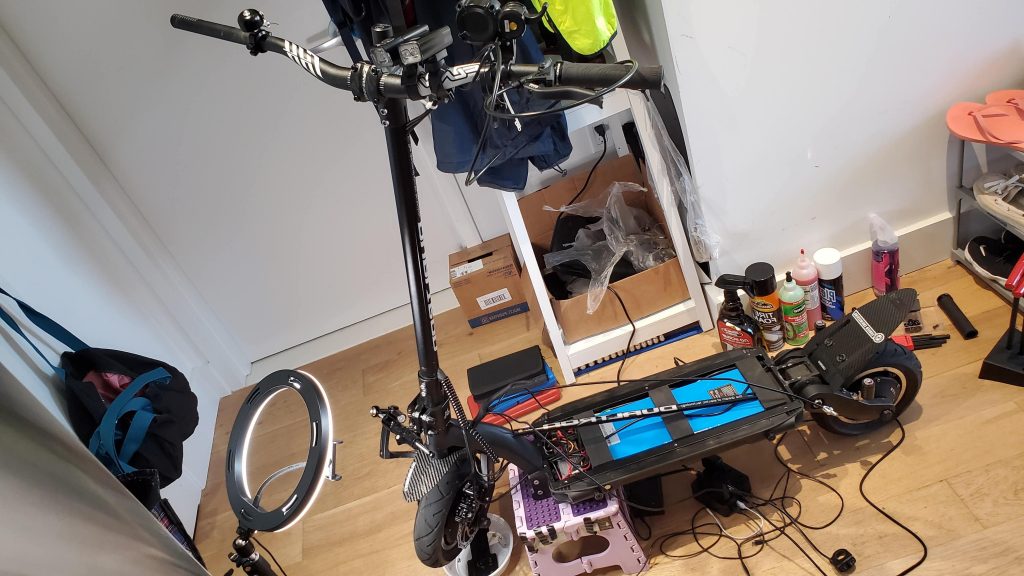
- While scooter is on a block, use your hand and spin the wheels to make sure the wheels spin freely, the caliper pads should not rub on the disk, unless lever is squeezed
- Test calipers by pushing scooter, and squeezing lever. Once thats all done, you should be all set, go outside and test, use slow speed first
- If you’re installing a pair of MT5 or MT7, you can use a Brake Pressure Switch from Magura. To install, you’ll need to buy the switch, cut the brake line, install switch line to it, and re-bleed that brake. Then solder your e-brake line from the controller to the pressure switch line. The soldering job is very easy to do, it doesn’t matter which wire goes to which, theres only a positive and a negative wire.
- If you have MT5E, you can just solder the e-brake lines directly to the Magura levers e0brake wires.
How to bleed Magura Brakes
Bleed Magura brakes deserve a video all on its own. Watch the video below on how to bleed the Magura MT7s installed on a Dualtron Ultra 2. The process is almost the same. The critical difference between the Ultra 2 and Eagle Pro bleed is the bleed port is on the inside of the Dulatron Ultra MT7 caliper, whereas the bleed port is on the inside of the Magura MT5 Caliper.
Magura Install Tips & Tricks:
- be-careful when removing wires, make sure not to cut or stress any of them unnecessarily
- when removing the led strips, make sure not to damage the wires or receiver, they’re pretty sensitive
- when snipping e brake wire, snip 2-3 inches below the caliper side, make sure you have a proper system to replace the stock e-brake light trigger, some people buy Magura brake switches or reuse the stock switches on the stock Minimotors levers
- Make sure the brake calipers are aligned in the middle of the rotor, and no rubbing occurs when spinning the wheel
- Make sure the brake caliper bracket is facing the correct direction, you will notice rubbing on the rotor and caliper if its the wrong way
- Make sure the Magura oil lines are the proper length, turn your handlebars to account for slack needed, measure twice, and cut once
- Snaking the hose line through the neck/headset is challenging, make sure the lines have the wire protector, or else the wires can get stressed and punctured
- make sure to watch the Magura bleeding video to get a good idea on how the hose, olive, pressure nut, and caliper work
- Make sure to lay down plastic bags to protect your floor while bleeding
Magura Installation References:
You may also like:
Disclaimer: The information presented in this article is derived from extensive research, user reviews, and publicly available information. Our aim is to provide accurate and up-to-date content; however, it is crucial to understand that the opinions expressed are based on the information available at the time of writing. We strongly encourage readers to conduct their own thorough research and carefully evaluate their individual needs before making any purchasing decisions.

 eWheels 2023 Summer Deals and New Launches are here!!!
 Cheap, reliable, and powerful! TurboAnt Electric Scooters 2023 Sale!
Beginner
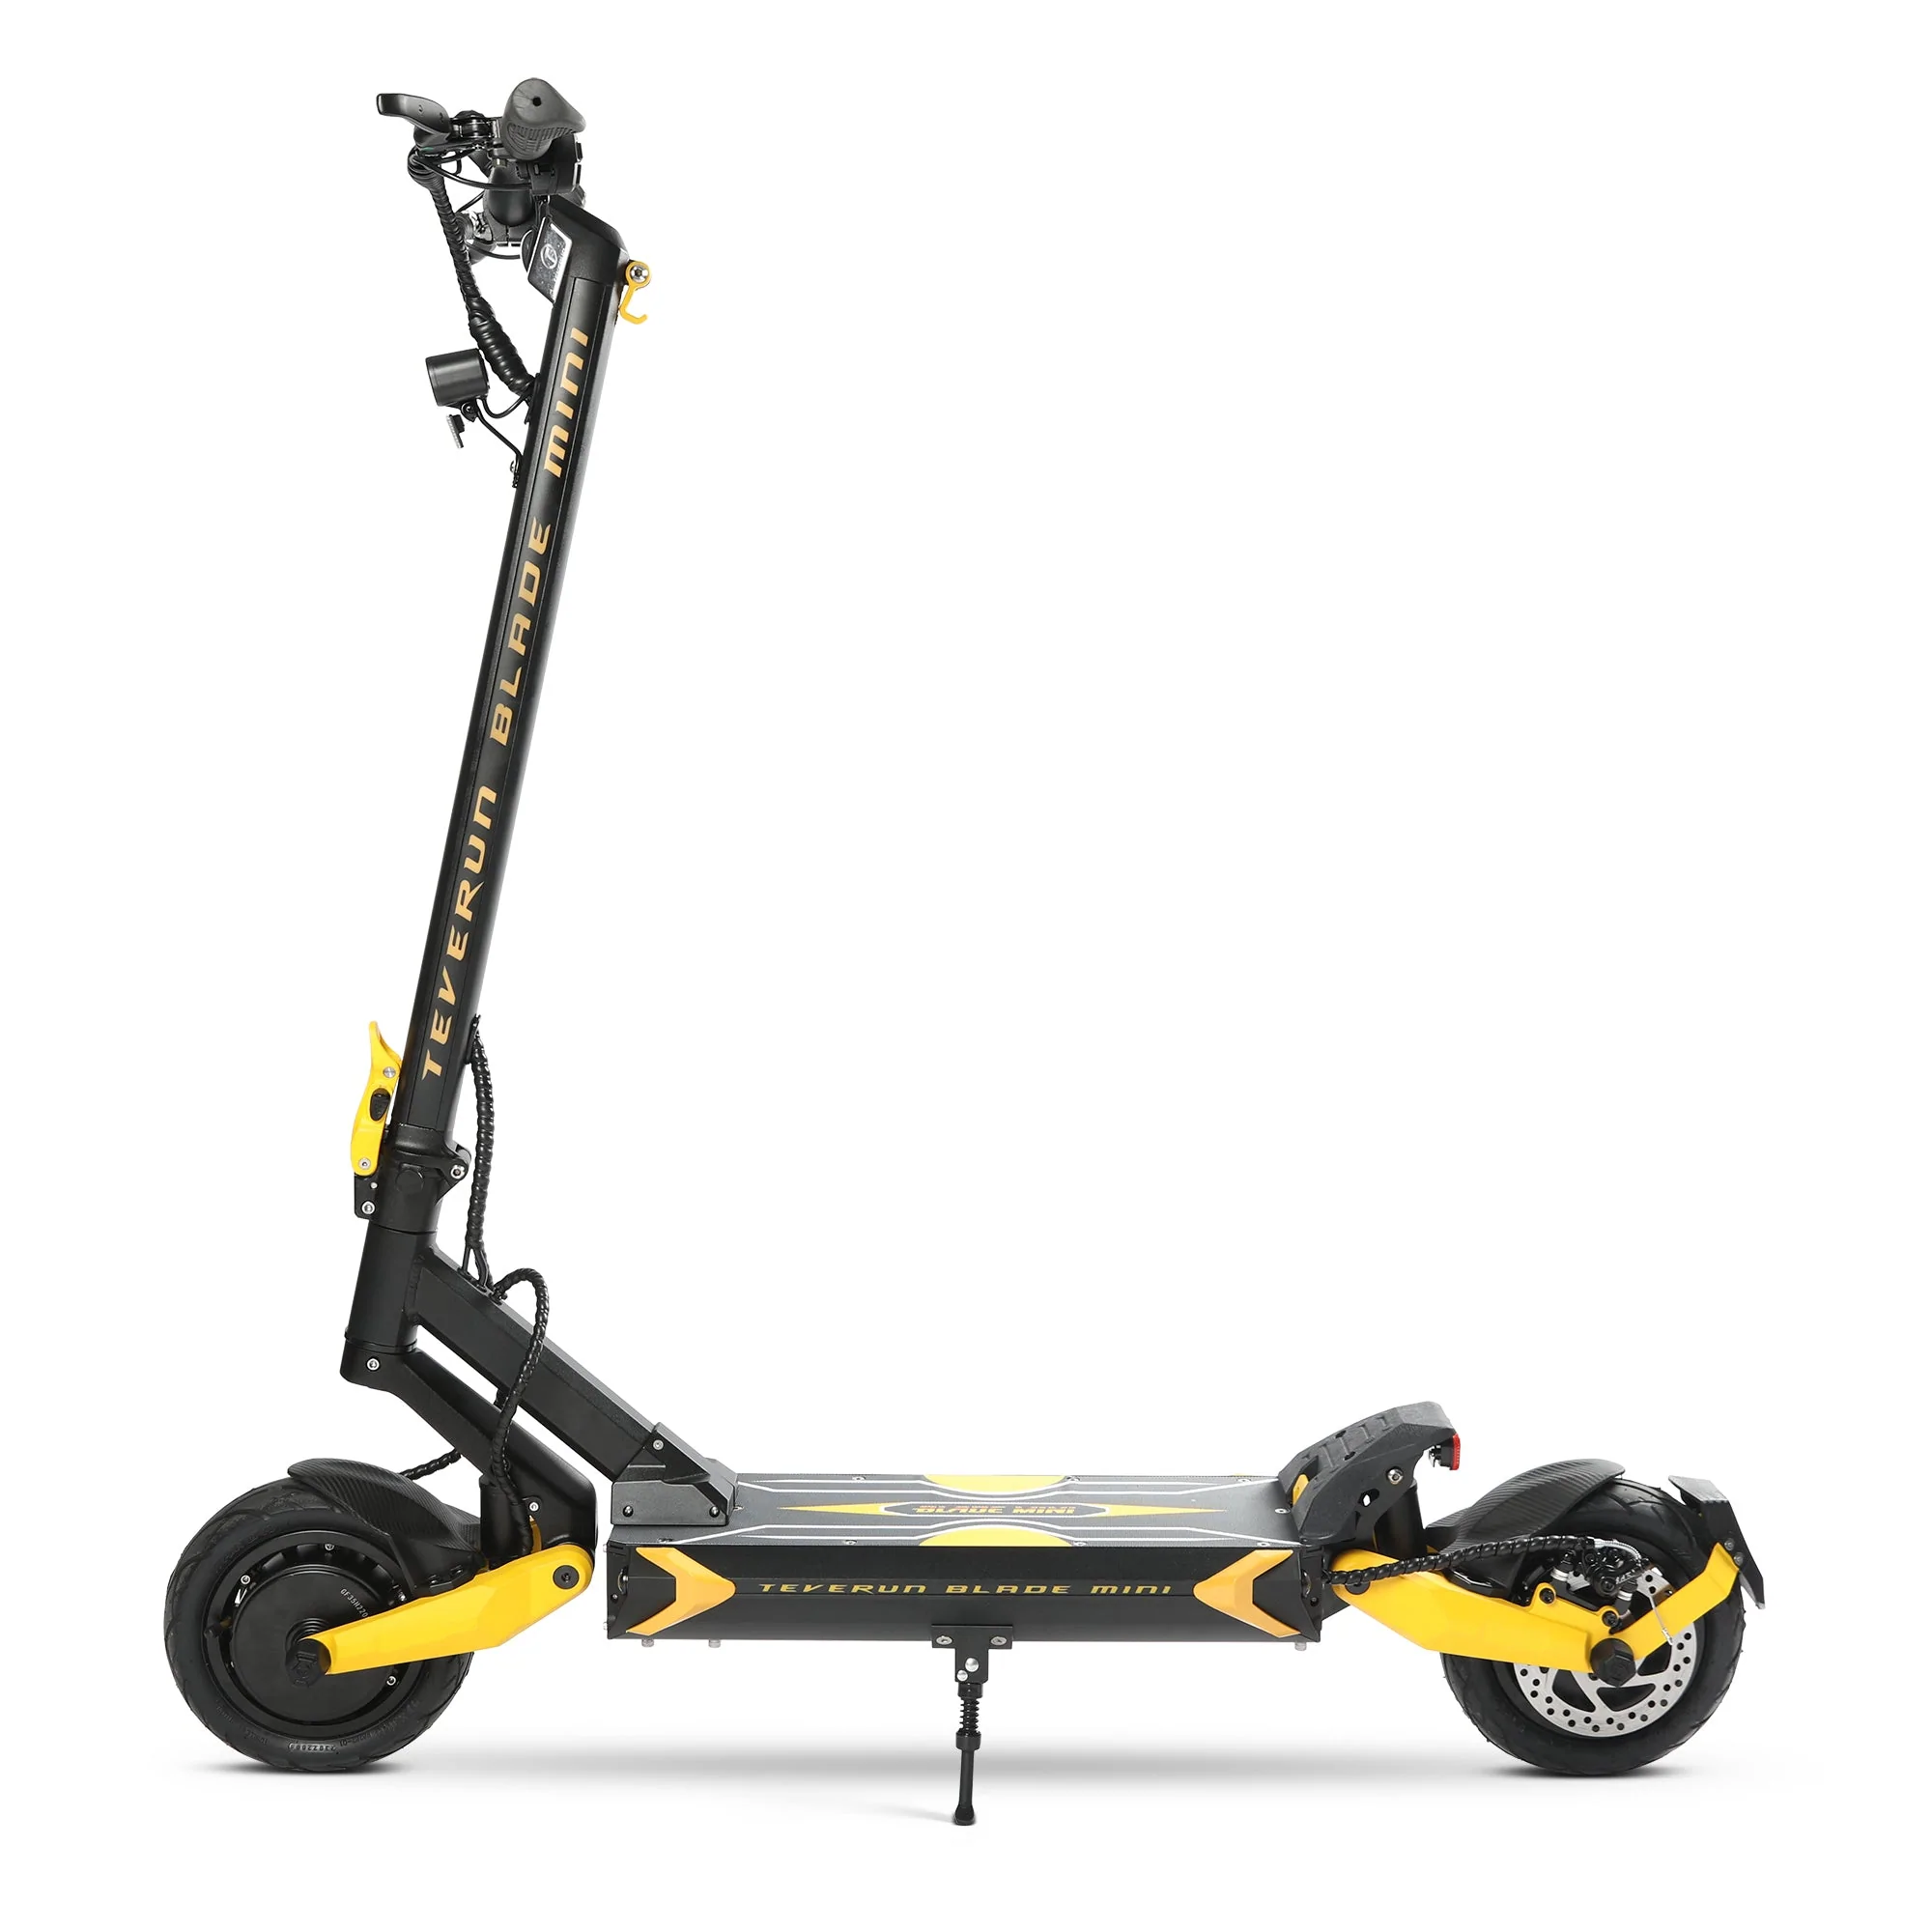
Teverun Blade Mini Pro
34 MPH • 37 Miles • 66 LBS. • $1,299

Save $50 with Code "VROOOMIN"
emove RoadRunner Pro
50 MPH • 50 Miles • 114 LBS. • $2,895
Save $50 w/ Coupon Code: VROOOMIN
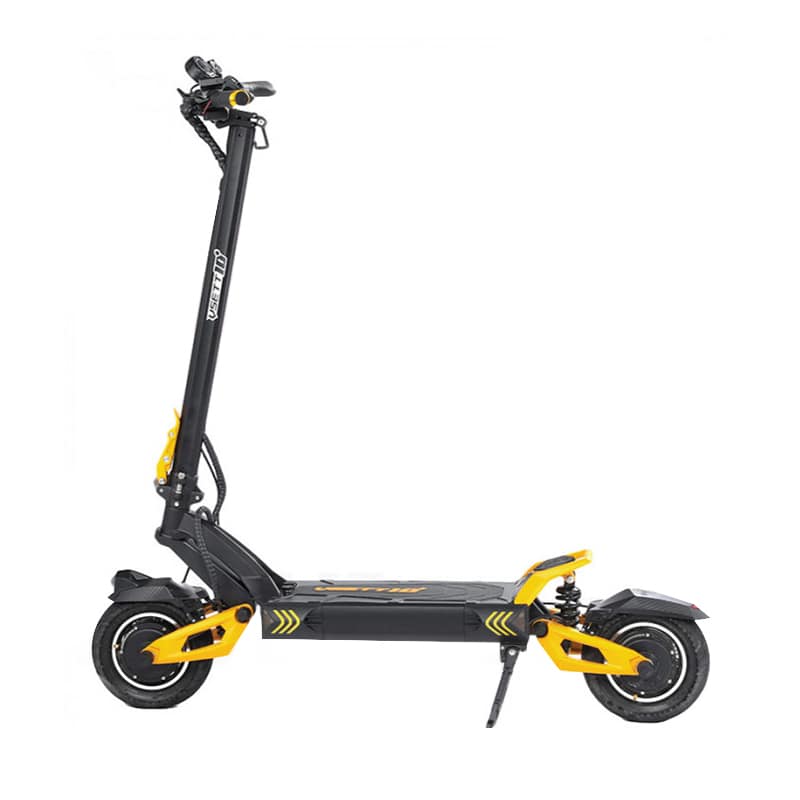
VSETT 10+
50 MPH • 60V 20.8AH • 86 LBS. • $1,709
Voro Motors: Save $50 with code VROOOMIN
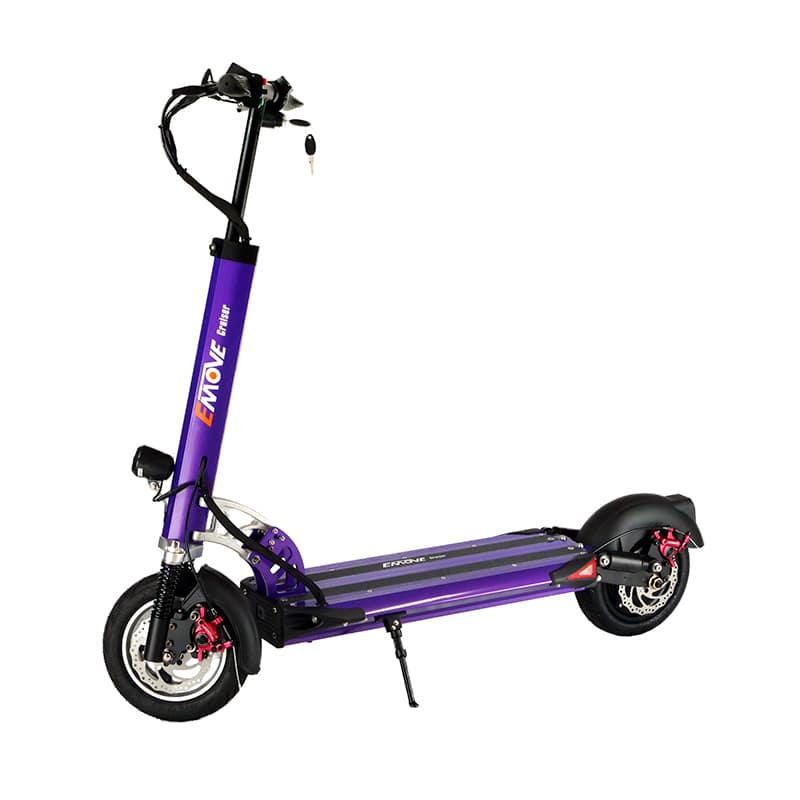
emove cruiser
33 MPH • 56 Miles • 52 LBS. • $1,399

Expert
Dualtron Thunder 3
62 MPH • 105 Miles • 105 LBS. • $4,299

Voro Motors: Save $50 with code VROOOMIN
emove RoadRunner
35 MPH • 50 Miles • 55 LBS. • $1,695
Save $50 with Code "VROOOMIN"
kaabo Wolf King GT
62 MPH • 70 Miles • 115 LBS. • $3,195
Voro Motors: Save $50 with code VROOOMIN
kaabo Mantis GT
43.5 MPH • 65 Miles • 72 LBS. • $2,495
Advanced
Teverun Fighter Supreme
62 MPH • 74 Miles • 100 LBS. • $4,199

Commuter Friendly
Apollo City
27 MPH • 30 Miles • 57 LBS. • $1,299
Voro Motors: Save $50 with code VROOOMIN
2023 Electric Unicycles:
Coupons & Deals:
- Save $50 off Kaabo and EMOVE electric scooters with Coupon Code: VROOOMIN
- Apollo Scooters: Get $50 USD worth of free accessories, upgrades, or spare parts with the purchase of a scooter. Code: VROOOMIN
- REV Rides: Save $50 off Scooters and EUC's, Code: VROOOMIN
- Save 5% off Armor-Dilloz Code: VROOOMIN05
- Save $50 off EMOVE Cruiser Electric Scooter Coupon Code: VROOOMIN
- EVOLV Electric Scooters: Free Folding Lock (worth C$80) for every EVOLV model! Use Code: VROOOMIN-LOCK
To keep the site running and information flowing, Vrooomin.com participates in affiliate linking programs. We're also an Amazon Associate, which means we get paid for referring people to Amazon. Please support the channel by clicking on our links.